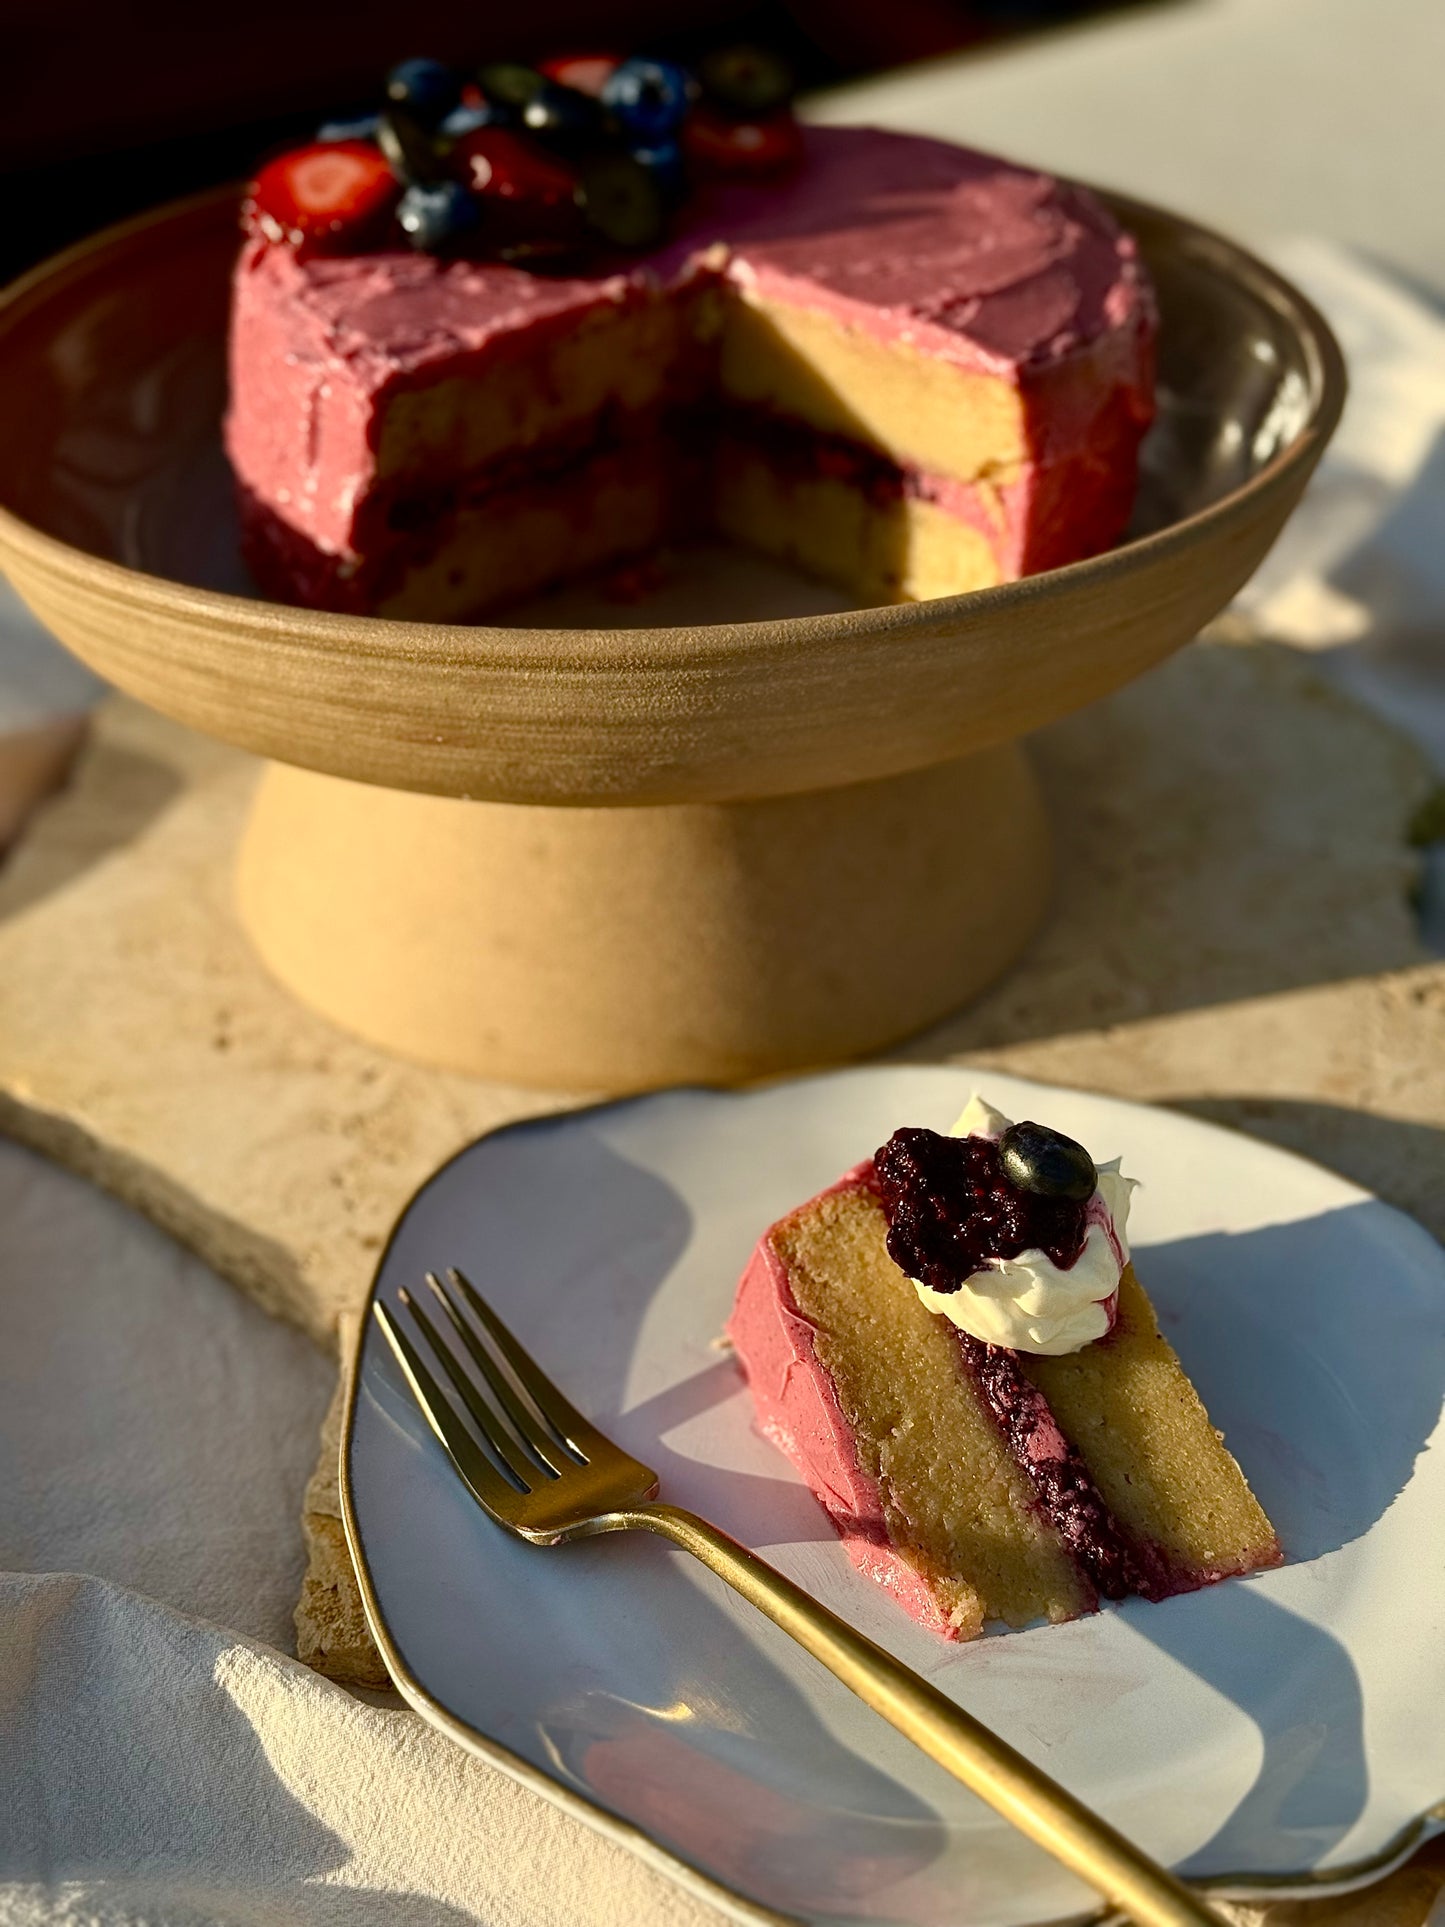
Everyone needs a staple vanilla cake to lean on when you have 'that' birthday coming up and the pressure is on. But we need it simple. A whiz-bang cake and out of ingredients that we can access at the supermarket, so say hello to a very simple, classic vanilla cake that we have been leaning on for eternity now. You can make it your own, but flavouring it in various ways, doing various buttercreams, toppings, skipping or adding in the jam etc.
The Vanilla Dream Cake
Ingredients
The following ingredients and method will make TWO CAKES so you have the chance to layer them.
- 4 cups blanched almond meal
- 5 room temperature eggs
- 1 1/2 tsp baking powder
- 1/2 cup softened coconut oil, ghee or butter
- 3-4 tsps vanilla essence
- 1 cup granulated sweetener, add to taste more if required as each sweetener has varying sweetness. You can choose between coconut sugar, rapadura sugar, monk fruit sweetener (eg Lakanto) or xylitol. This will depend on your current health journey and you can check with your preferred practitioner as to what may suit your gut right now best.
- 1 cup softened or room temperature coconut cream
- 1/2 cup collagen
- Pinch of salt
Method
- Preheat your oven to 180 degrees.
- Line a springform cake tin with baking paper on the bottom, and then your chosen fat (ghee, coconut oil or butter) around the sides of the tin. If you don't have a springform cake tin, any other cake tin will do!
- Place all ingredients into your blender and blend until smooth.
- Pour out half of the mixture into the cake tin, leaving the other half to cook right after, however if you have two cake tins - this is very helpful and will speed up the process!
- Bake for 30-35 minutes or of course until cooked through. You will know by gently pressing the centre and if it is still very soft/wobbly to touch, then continue to wait very closely until just firm enough.
- Remove from the oven, and if you didn't have two cake tins, set aside the cake to cool in the tin for a few minutes or completely depending on how much time you have, and then very carefully remove from the tin. Place in the fridge, and then continue the same method for the additional cake layer.
- Allow both cakes to cool completely before assembling the cake with the buttercream and jam.
As they cool, make the buttercream and jam or use a jam that you love!
Berry Chia Jam
We are going for a very healthy jam here. One that will nourish ourselves at the same time... so keep in mind that if you're looking for a classic jam, you can either buy your choice off the shelf elsewhere, make your own classic, or opt for something extra anti-inflammatory and nourishing below.
Ingredients
- 2 cups frozen berries of choice
- 2 tbsps chia seeds
- 2 tsps vanilla essence
- Optional: 1 tbsp Children's or Mothers Blend
- Optional: sweetener to taste, such as 2-3 tbsps maple syrup, or monk fruit concentrate to taste.
Method
- Blend down the berries till they’re quite fine.
- Add in the chia seeds, vanilla and sweetener. Warm through to melt down the berries, mix and combine. I have the heat on 60 degrees in my thermomix for this.
- Remove from the heat (it shouldn't have gotten too hot anyway!), add in the optional foraged and liberally stir it through.
- Reserve aside for layering onto the cake on top of the buttercream in the middle of the two cakes.
- You will have leftovers! So you can use it to serve up with each piece of cake, or you can serve it with pancakes. It is a fantastic nourishing jam for your little ones in particular - a great way to get in another dose of Foraged!
Buttercream Icing
Ingredients
- 350g unsalted butter, softened slightly and chopped into cubes
- 1/2-3/4 cup granulated sweetener of choice
- 2 tsps vanilla essence
- If needed, 1-2 tbsp water if you'd like the result slightly softer as the butter hardens in the fridge.
- Optional: 2-3 tsps Mothers or Children's Blend for a pink colour, 1-2 tsps blue spirulina for blue, or turmeric for yellow. The worlds your oyster!
Method
- Blend down the granulated sweetener until it is as fine as you can make it.
- In whatever cooking appliance you have to whip butter, use that!
- Add into the appliance your cubed butter, sweetener, vanilla, optional water and optional colour of choice (or keep it plain!).
- It takes around 3 minutes using a medium speed whipping appliance. We opt for a Thermomix, in which we place the butterfly mixer into the bowl and whip for 3 minutes on speed 3-4 or until it is your desired consistency.
- If your cake has not cooled completely yet, place the buttercream into the fridge until the cakes have cooled and you're ready to spoon it over your cakes.
- Once your cakes have cooled, if your butter needs to soften slightly to smooth over the cakes, carefully whip one last time and then spoon it over first layer of cake.
- Top with the jam onto your first layer of buttercream, so the jam is in the middle of the two cakes.
- Finish spreading the buttercream icing over the cake. Place back in the fridge until you're ready to enjoy it!

